
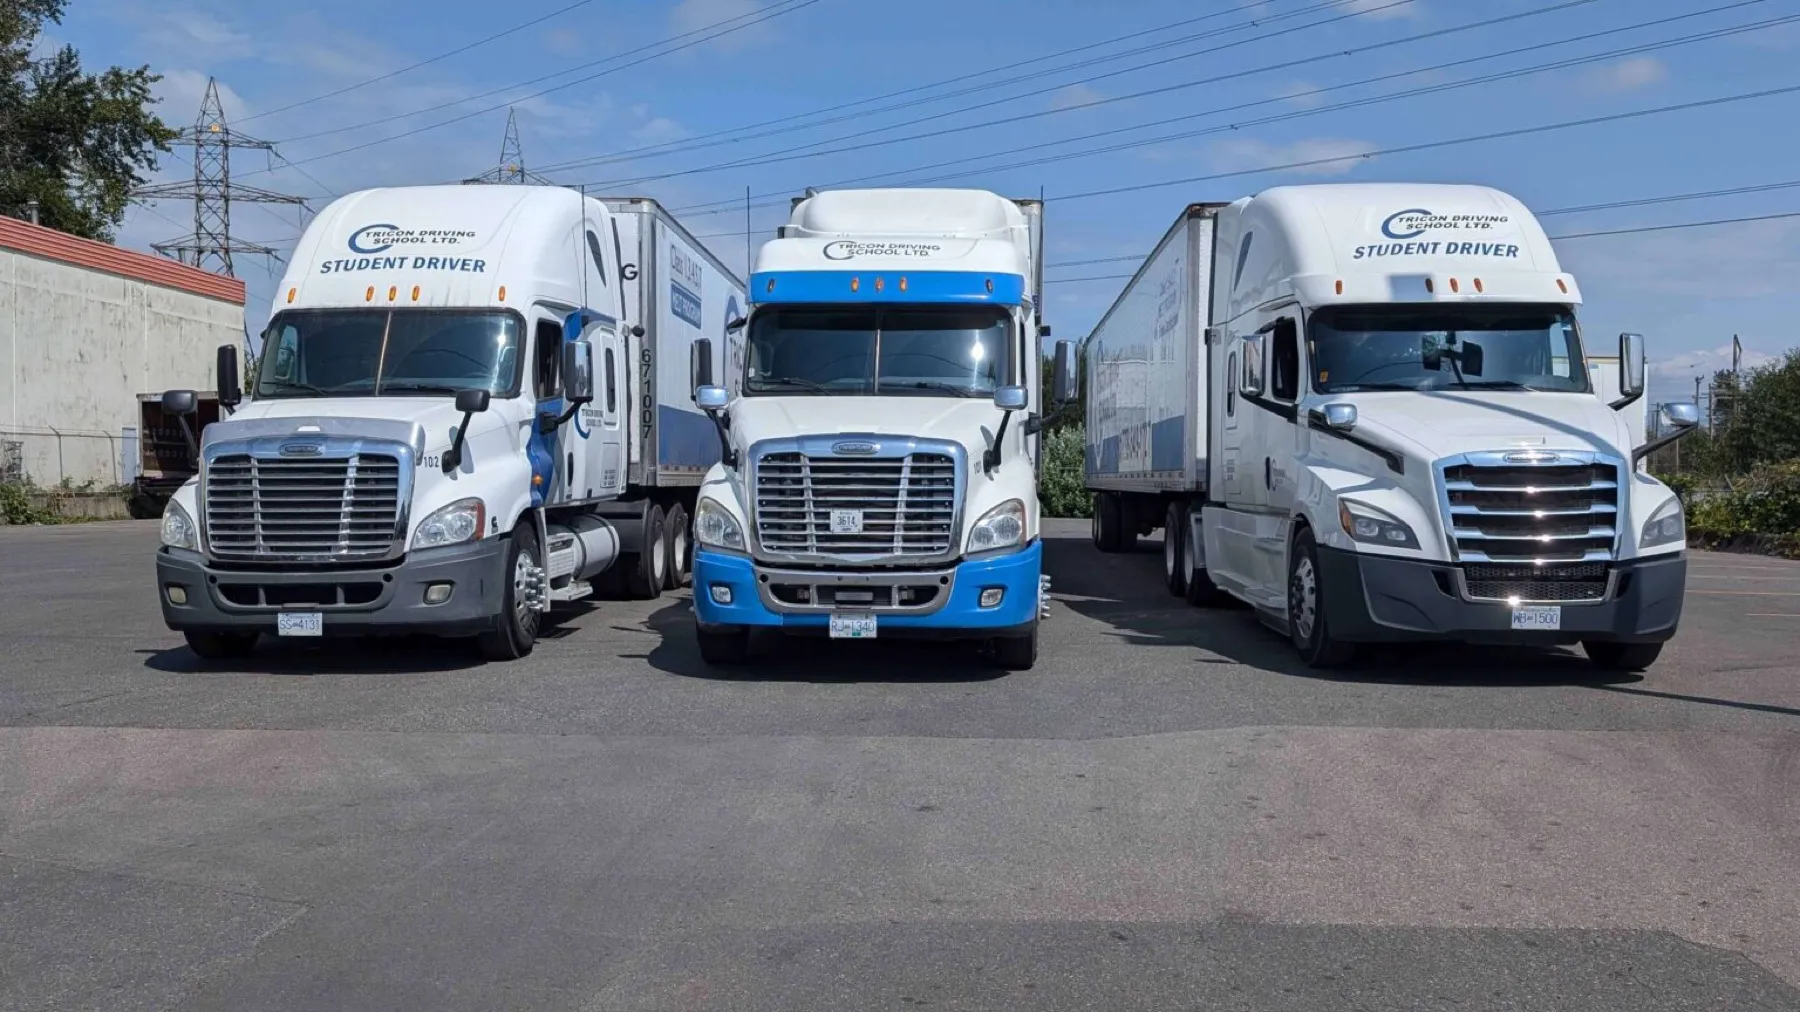
Why pre-trip inspections matter
A pre-trip inspection is the walkthrough a commercial driver does before ever putting the vehicle in gear — checking the engine, cab, lights, tires, brakes and (for a tractor-trailer) the coupling system for anything that could make the vehicle unsafe to drive. It's not optional and it's not just for show.
A commercial vehicle that hasn't been properly inspected can put the driver, other road users, and the load itself at risk — a brake problem, a loose coupling or a burnt-out light can turn into a serious incident once the vehicle is moving. That's why a trip inspection is required under the National Safety Code before a commercial vehicle is driven, and why it's built directly into the Class 1 and Class 3 road tests in BC: an examiner will ask you to identify and explain specific checks before you're even allowed to start driving.
The short version
A pre-trip inspection is a required, systematic check of a commercial vehicle before it's driven — engine and cab, lights and tires, brakes and coupling. It's a legal requirement, it's part of your Class 1 or Class 3 road test, and it's the habit that catches small problems before they become expensive or dangerous ones.
Use this as a study aid, not a substitute
This checklist reflects common, well-established commercial-vehicle inspection practice, organized to be easy to work through and print. It is not a substitute for the official National Safety Code trip inspection standard, your carrier's own inspection procedures, the vehicle manufacturer's guidance, or ICBC's actual road test requirements — always confirm the specifics with those sources.
Engine compartment & cab checklist
Start with the engine compartment while the engine is off and cool, then move into the cab. These checks catch the problems most likely to strand you on the road or fail outright before you've gone anywhere.
Engine compartment
- Check engine oil, coolant and windshield washer fluid levels
- Check power steering fluid level and condition
- Look underneath for fluid leaks — oil, coolant, fuel or power steering fluid
- Inspect belts and hoses for cracking, fraying or looseness
- Inspect the air compressor, air lines and fittings for visible damage
- Confirm the radiator and charge air cooler are free of debris, damage and leaks
- Check the battery box, cables and connections are secure and free of corrosion
- Confirm the hood or tilt cab latches and closes securely
Cab
- Adjust and check all mirrors for cracks, secure mounting and a clear view
- Check the windshield for cracks or damage that could obstruct your view
- Test windshield wipers and washers
- Confirm all gauges — oil pressure, air pressure, coolant temperature, voltmeter — read correctly
- Test that warning lights and buzzers illuminate at start-up and clear normally
- Check the seatbelt for damage and proper operation
- Test the horn
- Check the steering wheel for excessive play before the wheels respond
- Confirm the parking brake control and clutch (if equipped) operate smoothly
- Make sure required documents — registration, insurance, inspection decal, logbook — are on board
Lights, reflectors, tires & wheels checklist
Walk the full perimeter of the vehicle for this part — it's the only way to actually see every light, reflector, tire and wheel rather than just the ones near the cab.
Lights & reflectors
- Check headlights on low and high beam
- Check turn signals and hazard lights on all four corners
- Confirm brake lights activate when the pedal is pressed
- Check clearance, identification and marker lights front and rear
- Check the licence plate light
- Inspect reflective tape and reflectors for damage or excessive dirt
- Confirm all lenses are clean, unbroken and properly seated
Tires & wheels
- Confirm tread depth looks sufficient on all tires, including a carried spare
- Look for cuts, bulges, uneven wear or exposed cords
- Check tire pressure looks correct, and confirm with a gauge where possible
- Check wheels and rims for cracks, bends or other visible damage
- Confirm all lug nuts are present, tight and free of rust streaks that suggest looseness
- Check for oil or grease leaking from wheel hubs or seals
- Confirm mud flaps are present and securely attached
Brakes & coupling system checklist
This is the part of the inspection that carries the most weight — a brake system or a coupling that hasn't been properly checked is one of the most common causes of serious commercial vehicle incidents. Take your time here.
Air brake system
- Start the engine and confirm air pressure builds to the required operating level within a normal time
- Test that the low air pressure warning buzzer and light activate as air pressure drops
- Confirm the spring brakes apply automatically once air pressure drops to the low-air warning threshold
- Check air lines, hoses and fittings for leaks, cracking or chafing
- Test that the parking (spring) brake holds the vehicle
- Perform a rolling brake test at low speed to confirm the service brakes apply evenly and don't pull
- Listen and look for audible air leaks around valves, fittings and brake chambers
Coupling system (tractor-trailer)
- Confirm the fifth wheel is fully locked onto the kingpin with no visible gap
- Check the fifth wheel plate, jaws and release arm for damage or excessive wear
- Confirm the trailer's landing gear is fully raised and secured before moving
- Check that air and electrical lines are connected, secured and not chafing
- Confirm safety chains or cables are properly connected as required
- Test that trailer brakes and lights function correctly once connected
- Do a tug test — pull gently against the coupling to confirm it holds
Trailer & cargo
- Check that trailer doors latch and lock securely
- Confirm cargo is properly secured and within the trailer's rated capacity
- Check the trailer floor, walls and roof for visible damage
Final in-cab & on-the-road checks
A pre-trip inspection isn't finished the moment the vehicle starts moving. A few final checks in the first minutes of driving catch anything the static inspection couldn't.
- Confirm all mirrors are adjusted correctly from the driver's seat
- Recheck that all gauges read normally once the engine has warmed up
- Confirm the parking brake releases smoothly and the vehicle moves off normally
- Watch and listen for anything unusual in the first few minutes — pulling, noise, vibration or warning lights
- Know what to do — and who to notify — if you find a defect once you're already on the road
How Tricon teaches pre-trip inspection
Doing a pre-trip inspection well takes repetition — knowing exactly where to look, what a real problem looks or sounds like, and how to work through the same sequence every time without missing a step. That's something a checklist alone can't teach.
Tricon builds pre-trip inspection into the curriculum from day one, alongside in-yard and on-road training, so students are inspecting a real training vehicle under instructor supervision long before their road test. Both programs also include air brake training — see our What Is MELT? guide for how the Class 1 hours break down.
Class 1 (MELT)
Tractor-trailer pre-trip inspection is taught as part of the full MELT curriculum, covering the engine, cab, lights, tires, brakes and the coupling system.
See the Class 1 MELT course →Class 3
Class 3 training covers the same walkthrough for straight trucks, so students learn to inspect the vehicle they'll actually be driving.
See the Class 3 course →Learn pre-trip inspection properly
Hands-on practice on real training vehicles, built into Class 1 and Class 3 from day one.
Pre-trip inspection — frequently asked questions
How long does a pre-trip inspection take?
A thorough pre-trip inspection typically takes a driver who's familiar with their vehicle somewhere in the range of 15 to 30 minutes, depending on the vehicle configuration and how many trailers are involved. New drivers often take longer while they're still learning the sequence, and that's completely normal.
Is pre-trip inspection tested on the road test?
Yes. Both the Class 1 and Class 3 road tests in BC include a pre-trip inspection component, where the examiner asks you to identify and explain specific checks on the vehicle before you even start driving.
Do I need to do this every time I drive?
Yes. A pre-trip inspection is expected before every trip, not just before a road test. It's part of the National Safety Code's trip inspection requirements for commercial vehicles, and most carriers require a written or logged inspection report for every shift.
What happens if I find a defect during the pre-trip?
It depends on the severity. Minor items typically get logged and reported so they can be addressed before they become a bigger problem. A defect affecting safety systems such as brakes, steering, lighting or coupling should be repaired before the vehicle is driven — your training and your carrier's policies will set out exactly what counts as an out-of-service condition.
Where can I learn to do a proper pre-trip inspection?
Tricon's Class 1 MELT and Class 3 programs both teach the full pre-trip inspection as a required part of the curriculum, with hands-on practice on real training vehicles before your road test.